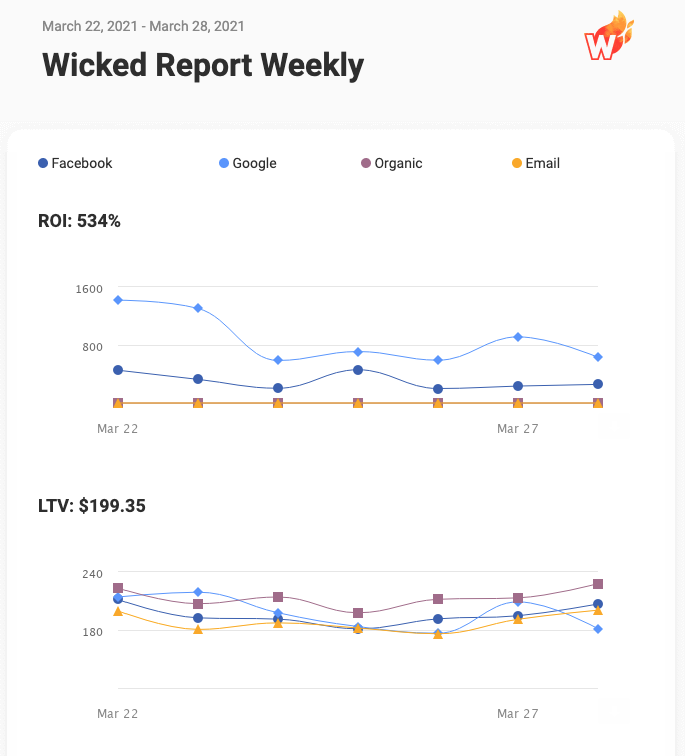
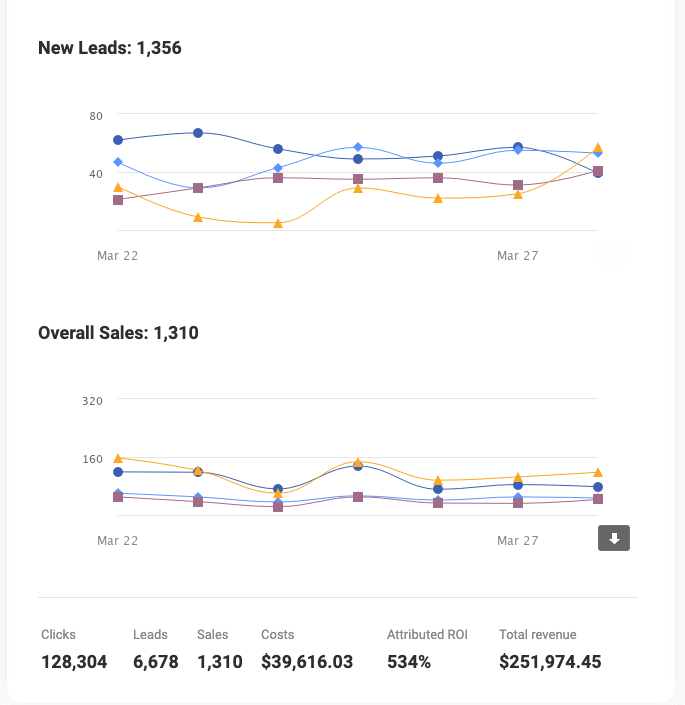
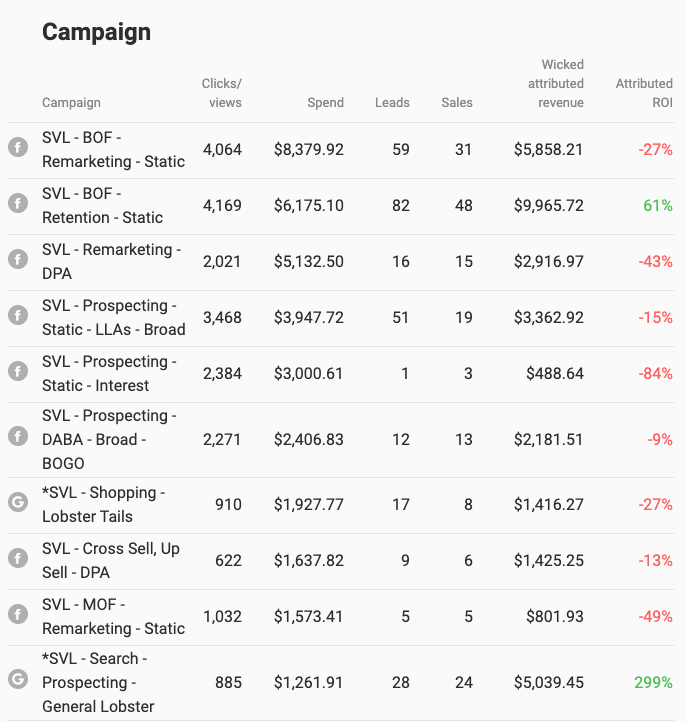
The Schedule Email Report will allow you to schedule reports to be emailed to you from the ROI Reports using a saved filter.
At this time, we do not allow immediate report sending for this feature but do plan on offering this enhancement in the future.
How to setup a scheduled email report
- Click the Schedule Email Report button at the top right of the ROI Report.

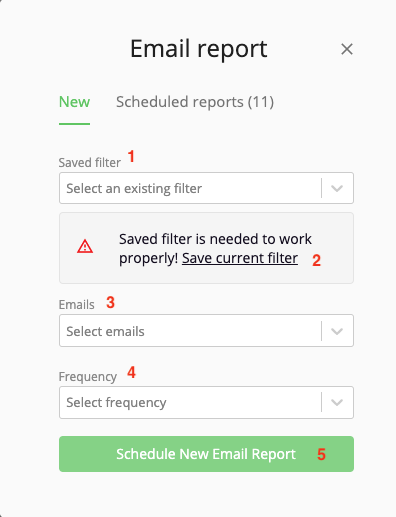
- In the popup screen, select a saved filter (1) you would like to have schedule to run against. If you'd like the current view always sent to you, you can save the current filter (2).
- Select the emails you'd like to have the report sent to (3). We pre-populate the emails already in the account for you.
- Select the frequency (4) in which you'd like the report run. You are able to select Daily, Weekly or Monthly. Daily reports will be sent after processing has completed from the previous day. Weekly reports will be sent after processing is complete on Monday's and includes data from the last 7 days. Monthly reports will be sent on the 1st of the month and include data from the previous month.
- Click the Schedule New Email Report (5) button and your report is now queued to be sent depending on the frequency you selected.
How to modify or delete a scheduled email report
You are able to delete a scheduled report, delete an email from a report or add a new person to an existing report.
- Click the Schedule Email Report button at the top right of the ROI Report.

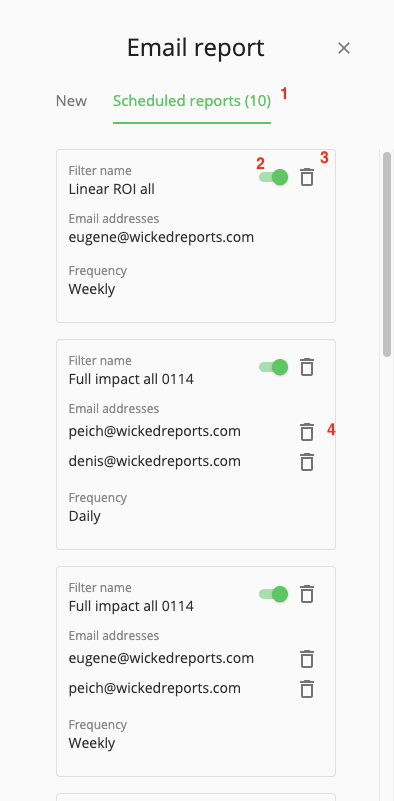
- In the popup screen, click the Schedule reports link (1)
- In this view, you will see all reports (if any) already scheduled. You are able to disable a report (2), delete a report (3) and delete an email address from the report (4).
- To add a new person to an existing report, you would follow the same steps from "How to setup a scheduled email report" section with the new email. This will add the email and start sending to that email going forward.
- Example Email Report:
