On this page:
Introduction to Google Enhanced Conversions
Google Enhanced Conversions is a feature offered by Google to improve the quality of your ads and the accuracy of your Google Ads data. By sending additional conversion data from your checkout system back to Google, this feature helps Google better attribute conversions, optimize bidding, and deliver ads to the right audience more effectively.
When using Wicked Reports, Google Enhanced Conversions involves three main steps:
-
Configure Google Enhanced Conversions in Google Ads by creating or editing a conversion action and enabling Enhanced Conversions.
-
Configure your Shopify store by adding the Enhanced Conversions Pixel to the Checkout Page so Google receives order data after each purchase.
-
Enable Enhanced Conversions in Wicked Reports to start sending all Shopify order data to Google every 10 minutes. This allows Google to match server-side order data with the client-side signals from your Checkout Page pixel
By completing these steps, Google can “see” more of your transactions, which in turn improves ad delivery, conversion rates, and data accuracy. Keep in mind, to use this solution, you must meet the following requirements:
-
Use Shopify as your primary shopping cart.
-
Do not use a third-party checkout system.
-
Have a Google Ads account eligible for Enhanced Conversions (Google determines eligibility).
-
Accept the Google Ads Terms of Service.
-
Do not already have Enhanced Conversions set up through Google Tag Manager (GTM)
How to Configure Google Enhanced Conversions in Google
Setting up Google Enhanced Conversions requires updates inside your Google Ads account and your Shopify store. In this step, you’ll enable Enhanced Conversions in Google Ads by either using an existing Purchase Conversion Action or creating a new one.
-
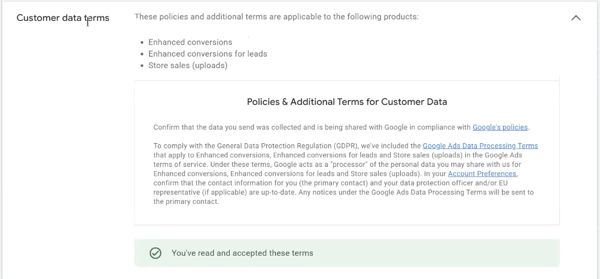
Accept Google’s Customer Data Terms
-
Log in to your Google Ads account.
-
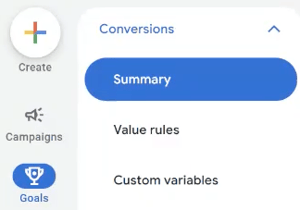
In the left menu, go to the Goals → Conversions → Settings page.
-
Click Customer data terms and accept the Terms of Service.
-
-
Check for an Existing Purchase Conversion Action
-
In the left menu, go to Summary.
-
Look for a “Purchase” Conversion Action with a Website source.

- If a Primary Conversion Action is already available, click into it.
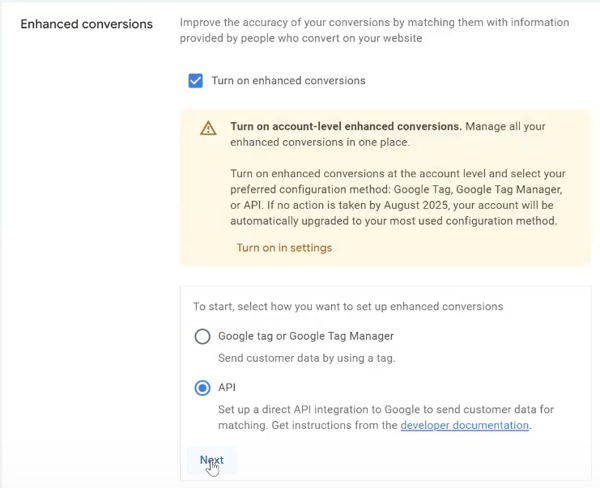
If one is not available, you'll need to create one. See how to create one in step 3 below. - Click Enhanced Conversions and ensure "Turn on enhanced conversions" is toggled to ON and "Tag Type" is set to API.
- If your conversions are configured correctly, then you're Google Configuration is completed and you're good to move onto configuring your Shopify account.
- If your conversion's have the EC setting turned on already, and the "Tag Type" is already set to "Google Tag Manager", then you're likely already sending Enhanced Conversions via GTM and you should not enable this feature in Wicked Reports.
- If your conversions do not have the EC setting turned on already, then you'll need to toggle it on and send the data via API. Then, move onto configuring your Shopify account.
-
-
Create a New Conversion Action (If Needed)
If you don’t have a suitable Conversion Action as listed in the step above, follow these steps to create one:
-
In Google Ads, navigate to Goals → Conversions → Summary.
-
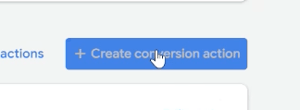
Click + Create conversion action.
-
Toggle Conversions on a website to ON. Then, press Save and continue.
The rest of the checkboxes can be left OFF.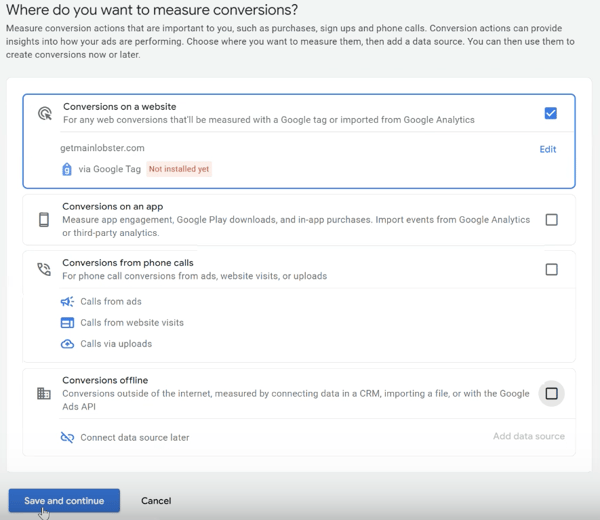
-
Choose Purchase as your conversion action "category".
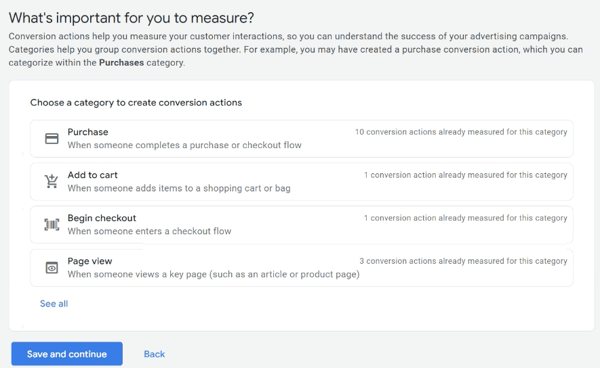
- Press +Add conversion actions. Then, select your URL.

- In the Pop-Up Modal, select Set up manually using code.

-
Now, configure the Conversion settings as follows:
-
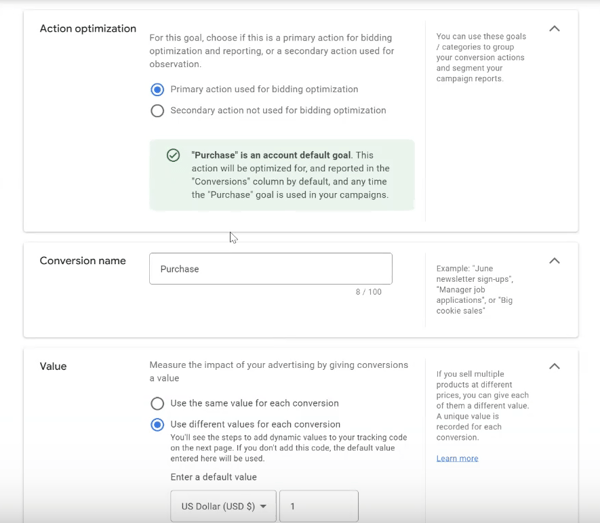
Action Optimization: Select your preference. Primary is recommend as it will actually be used by Google for optimization whereas Secondary will not be.
-
Conversion Name: Choose your name.
Example: Wicked Enhanced Purchase Conversion -
Value: Select Use different values for each conversion and leave the default value set.
-
Count: Select Every.
-
Click-through conversion window: Choose a value appropriate for your sales cycle or use the 90 days default.
-
Engaged-view conversion window: Choose a value appropriate for your sales cycle or use the 3 days default.
-
View-through conversion window: Choose a value appropriate for your sales cycle or use our recommendation of 30 days.
-
Attribution model: Data-driven if available, otherwise Linear.

- Press Done.
-
- After configuring your Conversion Settings, press Save and continue.

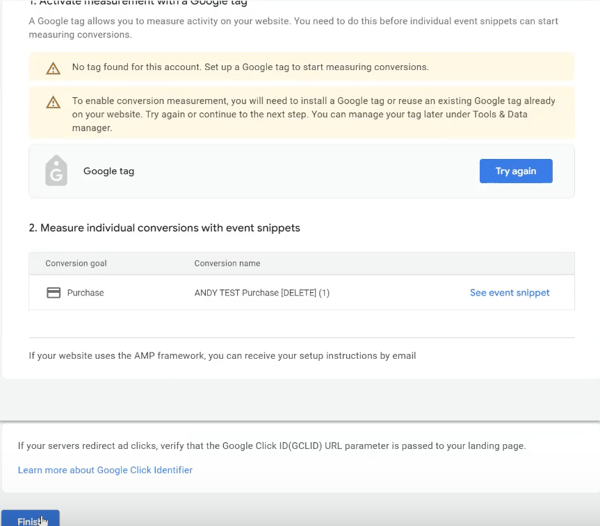
- No further action is needed in the Summary section. So, to complete the creation of your purchase conversion action, press Finish.
- Now, navigate to Goals → Conversion → Summary and select your new Purchase Conversion Action.
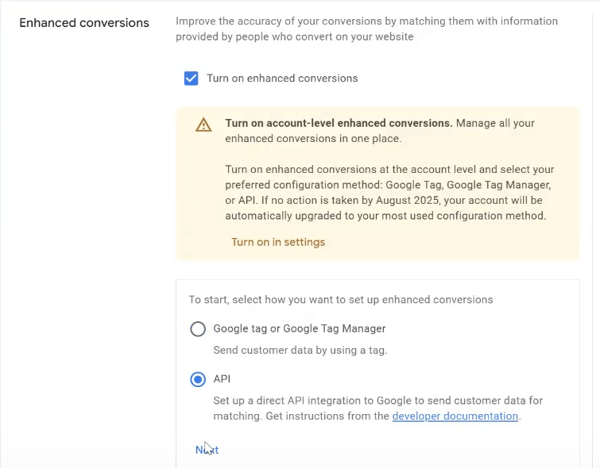
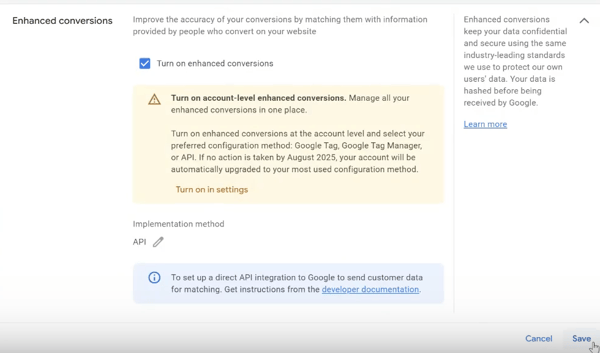
- Go to Details → Enhanced Conversions and toggle Turn on enhanced conversions to ON.
Note: If you don’t see this section, your account is likely not eligible for Enhanced Conversions. - For your Implementation method, select API & press next.
- To complete your Purchase Conversation creation, press Save.
-
At this point, your Google Ads account is configured for Enhanced Conversions. Next, you’ll set up Shopify so Google receives order data from the confirmation page.
How to Configure Google Enhanced Conversions in Shopify
Setting up Google Enhanced Conversions requires updates inside your Google Ads account and your Shopify store. In this step, you’ll configure your Shopify store to send Enhanced Conversion data to Google by creating a custom pixel on the Checkout page and then updating the pixel code with your Google and store-specific values using the template provided by Wicked Reports.
-
Create a Custom Pixel in Shopify
-
Log in to your Shopify Admin.
-
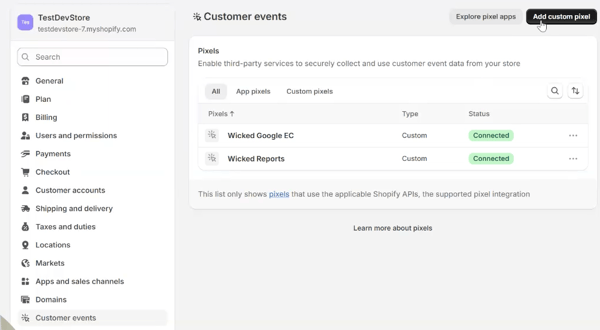
Go to Settings → Customer events.
-
Click Add custom pixel.
-
Name the pixel something clear, such as Wicked Google EC
-
Set the Pixels Customer Privacy settings:
-
Permissions -> Not Required
-
Data sale -> Data collected does not qualify as data sale
-
-
Paste the Wicked Reports Google Enhanced Pixel Code into the editor.
[COPY CODE HERE]
-
Click Save to save the pixel draft. Then, press Connect -> Connect to publish the pixel.
-
-
Update the Pixel Code
After saving the pixel, you’ll need to update one required value and review two optional values, within your Shopify pixel, to ensure the setup matches your Google Ads and Shopify settings.
-
Add Your Google send_to Value
-
Open your Google Ads account → Goals → Conversions → Summary.
-
Select your Purchase Conversion Action.
-
Go to Tag Setup → Install the tag yourself.

- In the Event Snippet, copy the full string inside the single quotes after send_to
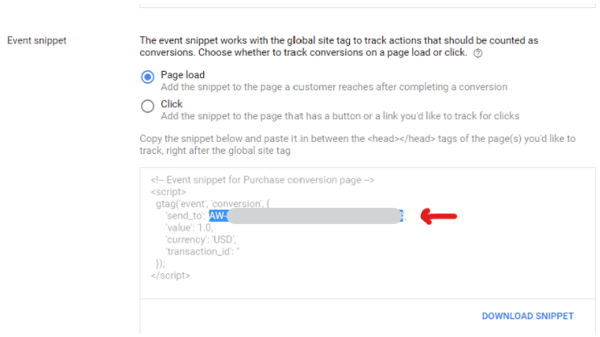
- Now, in your Shopify Pixel code, replace the placeholder 'AW-XXXXXXXXX/YYYYYYYYY' with the previously copied send_to value.
Example:'AW-XXXXXXXXX/YYYYYYYYY'→'AW-123456789/fn234523HJ9354534GAUYT'
-
-
Decide Whether to Include Taxes and Shipping
-
In the pixel code, find line 6: includeTaxAndShipping: false
- If you do not want to include Taxes and Shipping, leave the default value of false. However, if you do want to include Taxes and Shipping, set the value to true.
Tip: Most advertisers do not choose to send taxes and shipping.
-
- Update the Currency
- In the pixel code, find the line 7: defaultCurrency: 'USD'
- If your Shopify Store's currency is set to USD, leave this as it's default USD value. However, if you're Shopify Store's currency is something else, update this value accordingly. Examples: "defaultCurrency: 'GBP'" or "defaultCurrency: 'AUD'"
- Save your changes.
-
-
Verify the Pixel Connection
-
In Shopify, after updating your pixel code, return to Settings → Customer events.
-
Confirm your pixel appears in the list and the status shows as Connected.

-
At this point, your Shopify store is now successfully configured to send Enhanced Conversion data to Google after each checkout. Next, you’ll validate your configuration to confirm Google and Shopify are working together correctly.
How to Validate Your Configuration
Before enabling Google Enhanced Conversions inside Wicked Reports, you’ll want to confirm that your Shopify Checkout pixel is firing correctly and sending Enhanced Conversion data to Google.
To validate your configuration:
-
Prepare a test order in your Shopify store (using a 100% discount code is fine).
-
As you reach the final step of checkout, open Chrome Developer Tools by right-clicking anywhere on the page and selecting Inspect.
-
In Developer Tools, click the Network tab
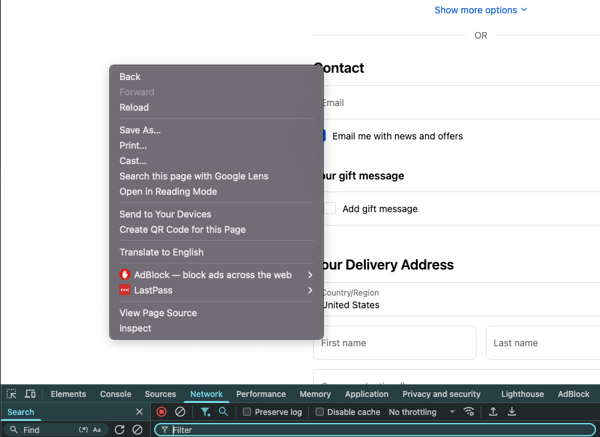
- Place the test order.
-
In the Network search bar, search for:
googleadservices.com/pagead/conversion/
- If the request is present → your Enhanced Conversion pixel is firing correctly and your configuration is valid.
- If no request is found → refresh the page with the Network tab still open and search again. If it still does not appear, re-check your Shopify pixel setup (most issues are caused by a missing or incorrect
send_tovalue). Otherwise, contact support.
Your configuration is now verified. Next, you’ll enable Google Enhanced Conversions inside Wicked Reports.
How to Enable Google Enhanced Conversions
After validating your Google Ads and Shopify configurations, the next step is to enable Google Enhanced Conversions inside Wicked Reports. This allows Google to use your verified order data to better train and optimize its ad-delivery algorithm for more accurate attribution and improved campaign performance. Once enabled, Wicked Reports will begin sending your Shopify order data to Google every 10 minutes.
To enable Google Enhanced Conversions:
-
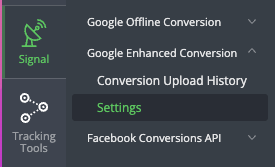
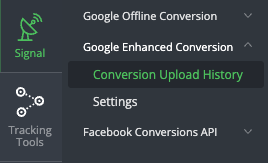
In Wicked Reports, navigate to Signal → Google Enhanced Conversions → Settings.
-
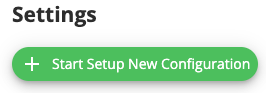
Click Start Setup New Configuration.
-
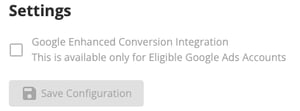
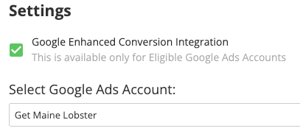
Check the box for Google Enhanced Conversions Integration.
-
When prompted, select the Google Ads Account that contains the Enhanced Conversion Action you previously set up in Google Ads. Note: Always use the same Google account you connected to your Shopify store to ensure data aligns correctly.
-
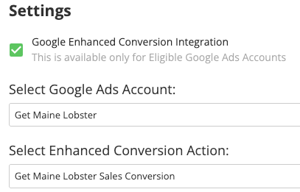
From the list of available Conversion Actions, select the Purchase Conversion Action you want order data sent to. Note: This Conversion Action must already be configured as Enhanced in your Google Ads account.
-
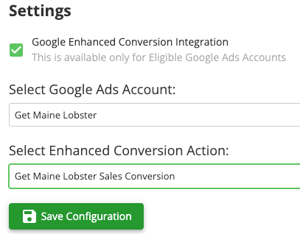
Click Save Configuration.
-
Wicked Reports will automatically test the selected Conversion Action to verify that it’s set up as Enhanced.
-
If successful, you’ll see a confirmation message indicating that the integration is active. Wicked Reports will now begin sending your Shopify order data to Google every 10 minutes.
-
If unsuccessful, you’ll receive an alert that the Conversion Action is not properly configured as Enhanced. Review your Google and Shopify setup, make any necessary updates, and try again.
-
Your Enhanced Conversions are now active. Next, you’ll want to validate the live data to make sure order information is flowing correctly to Google.
How to Validate Your Live Data
After enabling Google Enhanced Conversions, you’ll want to confirm that Wicked Reports is successfully sending data to Google and that Google is receiving it correctly.
To validate your live data:
-
In Wicked Reports, go to Signal → Google Enhanced Conversions → Conversion Upload History.
-
Wait 20 minutes after activation, then refresh the page to see conversion submissions passing through.
-
Update your Filters:
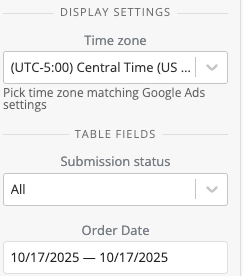
- Timezone: The timezone of your Google Account
- Submission Status: All
- Order Date: Today
- Review the submission status column:
- If it shows Successful, your integration is validated and you're good to go.
- If it shows Error, make sure you've gone through all the steps outlined in this doc. If you have and you're still seeing the error, then reach out to our support team for help.
Once the integration is validated, your system is fully connected and will continue to send in real-time order data from Shopify to Google via Wicked Reports.
FAQs
-
How often does Wicked Reports send Enhanced Conversion data to Google?
Once enabled, Wicked Reports sends your Shopify purchase data to Google every 10 minutes. This allows Google to quickly match server-side order data with your browser-based checkout events for faster optimization and more accurate reporting. -
What’s the difference between Google Enhanced Conversions (GEC) and Google Offline Conversions (GOC)?
Key Contrast (The Fastest Way to Understand It)
- GEC = The sale happened in the browser, but Google needs identity confirmation to trust the match.
- GOC = The lead or sale happened later or outside the browser, so Wicked sends it back using the original GCLID.
Quick Differences:
-
Google Enhanced Conversions (GEC)
- Sales only
- Browser-based
- Uses hashed identity (email, phone)
- Shopify-only in Wicked Reports
- No GCLID involved
-
Google Offline Conversions (GOC)
- Leads and sales
- Delayed or offline
- Uses GCLID + timestamp
- Uses our Tracking and Attribution Models
What does Google Enhanced Conversions (GEC) do?
Google Enhanced Conversions passes hashed customer identifiers (such as email or phone) along with browser-based sale conversion events so Google can confidently match real purchases back to the correct ads when standard browser tracking is limited.
What does Google Offline Conversions (GOC) do?
Google Offline Conversions allows Wicked Reports to send both lead and sale conversions back into Google using the original GCLID and conversion timestamp after Wicked completes attribution.
Do GEC and GOC replace each other?
No. They solve two different attribution problems:- Use GEC when a sale happens on the website, but Google cannot confidently match it due to browser or privacy limitations.
- Use GOC when a lead or sale happens later or outside the browser, and Google would never see it without a GCLID upload.
- Many advanced setups use both at the same time.