Acuity Scheduling (acuityscheduling.com) does support third-party tracking, but does not accept our standard tracking widget. However, we do have a solution. For Acuity Scheduling you're going to use our Tracking Pixel.
How to set up tracking
How to live test
How to add a Thank You Page re-direct
How to setup tracking
- Log into your Acuity Scheduling account and select Integrations from the Business Settings menu.
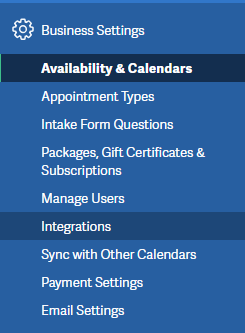
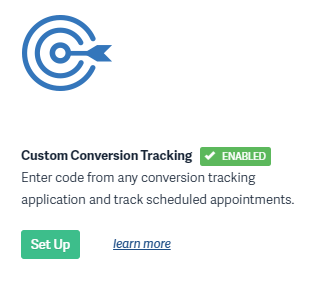
- Find the Custom Conversion Tracking Integration and click Set Up
- On the Custom Conversion Tracking setup page, enter the following pixel code into the HTML TRACKING CODE text area. Once complete, select Save Settings
<img src="https://track.wickedreports.com/pixel.php?WickedClientID=<YOURWICKEDCLIENTID>&wickedemail=%email%" />
NOTE: You must replace <YOURWICKEDCLIENTID> with your actual Wicked Client ID.
Here is an example from one of our test accounts:

How to live test
Regardless of the Acuity setup you choose (Direct Link, Embedded Scheduler, or otherwise), you will need to run a live test to test your setup. To run a live test:
- Open an incognito browser
- Add UTMs to your URL and submit your email address as if you were a real contact
You may use test UTMs, such as utm_source=test, or real UTMs associated with your live ads depending on how you would like to view your tests in Wicked Reports. - Review the results tomorrow
Your tests will appear in your account the next day around 9am ET
How to add a Thank You Page re-direct
This step is only required if you are redirecting people to a non-Acuity Thank You page.
Please note that Acuity strongly recommends not re-directing to a non-Actuity Thank You Page.
To re-direct to a different Thank You Page, copy & paste the code below into the HTML TRACKING CODE block found on Acuity's Custom Conversion Tracking page
<script type="text/javascript"> setTimeout(function() {window.top.location = 'YOUR-THANK-YOU-PAGE-URL';}, 1000); </script>
The final product will look like this. Remember to add your actual Wicked Client ID and actual Thank You Page URL!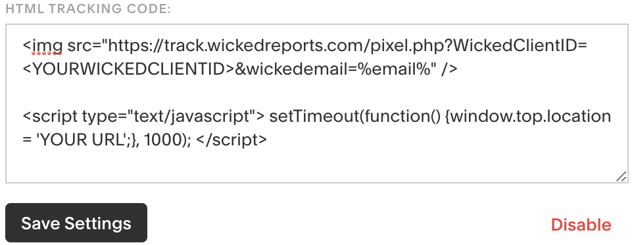
FAQ's
- Why didn't my acuity form pass my Opt-In test?
If you are using a multi-step acuity form, then the Tracking Validation tool in Wicked will not always pass. The reason for this is because the acuity tracking script is different than our typical tracking script. So, to test this, you'll need to run a live test. - Why isn't my tracking script showing up on my Acuity form?
We've seen that the tracking script typically appears on the final confirmation step of the form when uploaded correctly, as opposed to the step where you're inputting the email. This is an expected behavior.